The classic smokey eye is the ultimate symbol of sultry, evening glamour, but let's be honest, who has 20 minutes for precise blending on a Tuesday? We've stripped down the technique to a hyper-efficient 6-step method, showing you how to apply smokey eye makeup like a pro, even if you’re racing against the clock.
Get ready to ditch the complicated palettes and blend a stunning, blurred look in under 10 minutes.

Your Speed-Smokey Kit
To master the 10-minute smokey eye, your product choice is crucial. Creamy, blendable pencils and stick shadows are your best friends as they require minimal effort.
-
Prep: Eyelid Primer (or concealer).
-
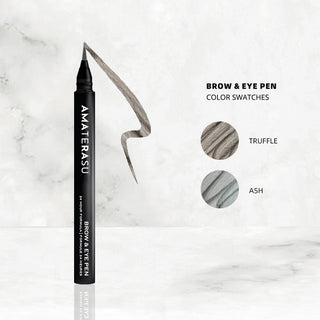
Shadow: Two shades of eyeshadow, a matte medium brown (for transition) and your darkest color (black, charcoal, or deep brown). Cream stick shadows or a kohl pencil work best for speed!
-
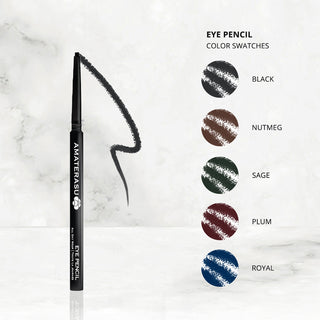
Definition: A soft, smudgy pencil eyeliner (not a liquid pen, as you need to blend it).
-
Brows: Your favorite eyebrow pencil or powder.
-
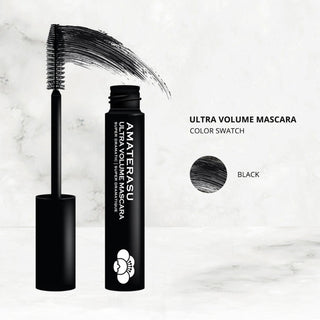
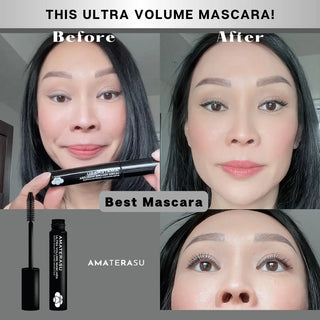
Finish: Waterproof mascara.
-
Tools: A small, flat eyeshadow brush and a fluffy blending brush.
The 6-Step Express Smokey Eye Tutorial
Step 1: Lay the Groundwork & Define Your Brows (Approx. 2 Min)
Start by quickly applying an eyelid primer or a dab of concealer over your lid and up into the crease. This prevents creasing and makes blending easier. Next, quickly fill and define your brows with an eyebrow pencil. Strong brows provide a frame that pulls the entire dramatic look together.
Step 2: Set the Transition Color (Approx. 1 Min)
Grab your matte medium-brown shade. Sweep this onto your crease using a fluffy brush in a soft, back-and-forth "windshield wiper" motion. This is your transition color, and it’s vital for the seamless smoke look. It doesn't have to be perfect, just get a soft wash of color above your eyelid crease.
Step 3: Create the Dark Base with Pencil (Approx. 2 Min)
This is the secret to speed! Instead of layering powder, grab a creamy black or dark brown kohl pencil.
-
Line your upper lash line, making the line thicker toward the outer corner.
-
Apply the same pencil to your lower lash line and water line for an intense look.
-
Scribble the pencil lightly over the rest of your mobile eyelid (the part that moves when you blink). It doesn't need to be neat!
Step 4: Blend and Smoke Out the Eyeliner (Approx. 2 Min)
Immediately take your small, flat eyeshadow brush and start blending the pencil base.
-
Lid: Pat the color on your lid to smooth it out.
-
Crease: Using the product still on the brush, gently blend the dark color up and into the transition shade you applied in Step 2.
-
Lower Lash Line: Use the same brush to gently smudge the liner on your lower lash line for that signature hazy, smoky effect.
Pro Tip: Keep your blending tight to the lash line, only moving the color slightly upward. If you are aiming for a lifted look, lightly smoke the outer corner up toward the tail of your brow, a soft hint of a cat eye eyeliner shape.
Step 5: Seal the Smoke (Approx. 1 Min)
Dip your small, flat brush into your darkest powder eyeshadow (the same color as your pencil, or slightly darker).
-
Pat and Press: Press this powder directly over the creamy pencil on your upper eyelid. This sets the cream, intensifies the color, and locks the look in place.
-
Clean Up: If any dark powder has fallen onto your cheek, use a large powder brush or a makeup wipe to quickly sweep it away before you apply foundation or concealer.
Step 6: Finish with Eyeliner and Mascara (Approx. 2 Min)
To finish the look and add final definition:
-
Tightline: Use a precise waterproof eyeliner pen to draw a thin, crisp line right along your upper lash line. If you want a subtle lift, angle the last millimeter of the line slightly upward for a mini cat eye eyeliner.
-
Mascara: Finish with a generous few coats of waterproof mascara on your upper and lower lashes. This completes the intensity and opens up your eyes.
Your Smokey Eye Is Complete!
In 10 minutes or less, you have a perfectly diffused, glamorous smokey eye that's ready for any night out. The key to this speed application is relying on creamy pencils for the base and keeping your blending focused and quick. Practice makes perfect, and with this quick 6-step routine, you'll master how to apply smokey eye makeup in a flash.